
I asked a colleague how I can most likely manipulate images in .NET. I guess there is no way around SkiaSharp for this. I’ll show you briefly how to get a curved text.#
SkiaSharp is a very powerful tool for .NET to create new images or manipulate existing images. In this blog post I will introduce you to a few features that took me some time to figure out.
To manipulate images the easiest and also fastest way in .NET is to set up a .NET Console Application and add SkiaSharp version 2.88.3.
Loading images#
Since I want to manipulate images and not just create a new image, I first load the image into the application. For this we open a FileStream with the path to the desired image. To let SkiaSharp interpret this data as an image, we call the function Decode on the SKBitmap.
| |
Generating new image#
Creating a new image is even easier. For this we simply create a new object of the class SKBitmap with the desired width and height.
| |
Resizing of existing images#
The SKBitmap class supports resizing by a method. Here you can simply select the new size and the desired quality level.
| |
Drawing a text vertically#
Let’s get to the features, which is why you are actually reading this blog post. Manipulations like adding text or paths require working with a SKCanvas. We can create this canvas from a SKBitmap and work on an existing image. To better visualize a canvas, think of it as a drawing surface. This is placed over the complete image to accommodate our drawing operations.
Especially for rotations we are supported by functions like Save, RotateDegrees and Restore, which allow us to take a snapshot of the canvas, rotate the canvas, perform drawing operations and then restore the starting state.
This flow will rotate only the drawing operations that were performed in that flow.
We take advantage of this behavior to be able to write a text vertically.
To do this, we first rotate the canvas by 90 degrees.
To be able to write a text, not much more than a SKPaint is needed, which gives us the possibility to adjust the text in size, color, font and much more.
Important: Adjusting e.g. the font size will of course change the required space of the text. This is especially important if we want to place the text in the center. Here the function MeasureText of the class SKPaint helps which uses the text as parameter to calculate the needed width.
| |
Finally, we call DrawText on the canvas, which takes the text, an X and Y coordinate, and the info about the text (SKPaint).
Attention: By rotating the canvas, X and Y are swapped and you may need to use a negative value.

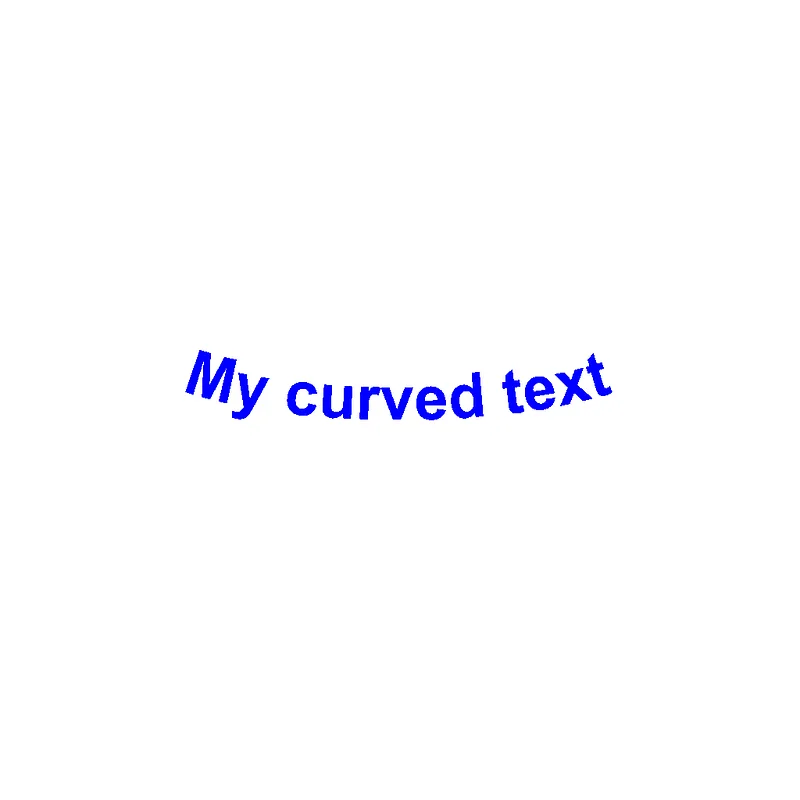
Drawing a curved text#
A very big feature with SkiaSharp are paths (SKPath). Paths can be used to create geometric objects or, as in our case, a path along which a text can “snake”.
To create a curved text I quickly realized that creating a path is the right choice. For the selection of the starting point you can use the MoveTo method, which uses a SKPoint coordinates for positioning. Then you can pick the right geometric shape from a variety of geometric shapes.
For a curved text I made the best experiences with the cubic method CubicTo.
Since we have already selected the start point, we calculate an end point that should be at the same height as the start point and should have the distance of the text to the start point. Here the MeasureText method helps us again.
| |
For the CubicTo method we need two points more. Since we do not want a straight line but a slight curvature, the points should differ in Y value. Since we have a distance between the start and end point (which is equal to the text length), these points should have to do with a quarter of the text length. One of them to the left and one to the right of the center of our position.
| |
After we have defined all the required points, we use the DrawTextOnPath method on a canvas to display a text here.
| |
Following is the full sample code of a slighly curved text:
| |
Writing the image to the file system#
Placing the image in the file system is quite simple. SkiaSharp supports this with its own SKFileWStream class, which technically simply opens FileStream to a file (for writing).
Then we call the Encode function on the SKBitmap we want to export, select the desired file format and quality and we have the image on the file system and can open it in any image viewer your like.
| |
Conclusion#
In this post I’ve explained how you can easily use some of the powerful functions of SkiaSharp in your .NET application of your choice and empower your application with some cool dynamic image manipulation features.