
Why Lottie Animations?
Lottie animations are not just “cool” — they’re a designer’s gift to developers. These lightweight, vector-based animations can be exported directly from tools like Adobe After Effects and seamlessly integrated into your application. That means less code to maintain, more polish for your app, and happier designers. Win-win!
If you’re just getting started with shared components in Blazor, check out our introductory post here.
Now, let’s build a shared Lottie animation component step-by-step.
Setting Up the LottiePlayerComponent#
Create the Component#
Add a new Razor component called LottiePlayerComponent in the Components folder of your shared project. Ensure you generate both a Razor page and a code-behind file.
Adding the Lottie Player Script#
Lottie animations require the Lottie player JavaScript library. You have two options:
- Use the CDN:
<script src="https://unpkg.com/@lottiefiles/lottie-player@latest/dist/lottie-player.js"></script> - or include it locally in your project:
- Download the script from unpkg.
- Place it in your shared project’s wwwroot folder and name it LottiePlayer.js.
Using the HeadContent Tag#
Blazor’s <HeadContent> tag lets you add page-specific content to the <head> section, like custom scripts or meta tags. This is perfect for selectively loading the Lottie script.
Update your LottiePlayerComponent.razor file to include the CDN script or the local script. If you want to include it via CDN, go with this one:
| |
If you prefer to serve it locally:
| |
Hint: Adjust the *src* URL if your project name differs.
Adding Parameters to Customize Animations#
In the code-behind file, add parameters to make the component flexible:
| |
Here’s why we use a dictionary for AdditionalAttributes: it’s the easiest way to dynamically apply attributes to the Razor page.
Building the Razor Page#
The Razor page is straightforward:
| |
This uses the lottie-player tag provided by the Lottie script. We map our parameters to the appropriate attributes here.
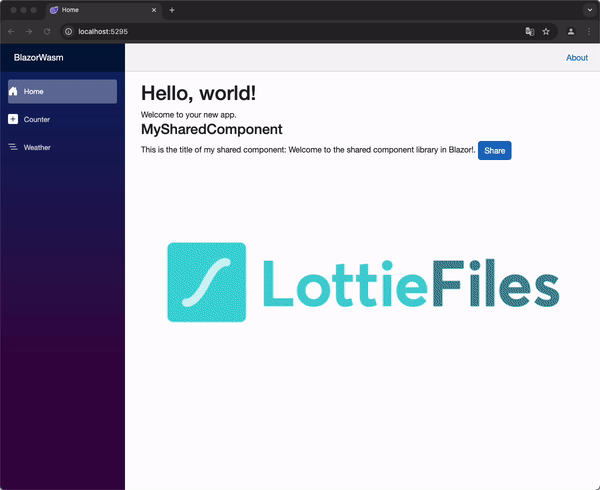
Testing the LottiePlayerComponent#
- Find an AnimationHead to LottieFiles, a massive collection of animations, and download one. You’ll need to create an account to access the files (which is always worth it). Save the animation in your client project’s wwwroot/animations folder as animation.json.
- Don’t forget to ensure the file is copied to the output directory during build!
- Use the Component in the Client ProjectReference your shared component on the home page:
- Run the ApplicationStart your Blazor app, and voilà! Your shiny new Lottie animation will be dancing on the page.
Wrapping It Up#
With just a few steps, you’ve added a professional animation component to your shared library. This opens up new possibilities for polished, interactive experiences in your Blazor WebAssembly apps.
What’s Next?#
We’ll dive into adding TailwindCSS styling to enhance the look and feel of shared components.
Stay tuned for more Blazor goodness!